Installation Portainer:
- You need as pre-requisite to have docker and docker swarm installed
- Then just execute the following command to install the Portainer container
docker run -d -p 9000:9000 portainer/portainer - To run portainer on a local instance of the docker engine use the following command :
docker run -d -p 9000:9000 -v /var/run/docker.sock:/var/run/docker.sock portainer/portainer - A public demo is available at => demo.portainer.ioMore deployments options:
username admin, password tryportainer
After the password definition, you get a login where you enter the new password.

The next step is, to define the first endpoint, which is guided:

- Here you provide a name (which is shown in the UI), the IP-Address of the docker-machine with the port (you get it from the $env:DOCKER_HOST environment variable).
- The docker-machine is secured by TLS, so you have to provide the certificates.
The files can be found under your home directory:
C:\Users\\.docker\machine\certs

- With this UI, you can do a lot of basic stuff on the docker-machine like starting/stopping/killing containers. Pulling Images, maintaining the network part and a lot more.
Admiral - Management UI for Containers (Docker):
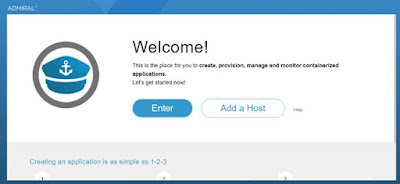
VMware Admiral is a highly scalable and very lightweight Container Management platform for deploying and managing container based applications. It is designed to have a small footprint and boot extremely quickly. Admiral is intended to provide automated deployment and life-cycle management of containers.
- Rule-based resource management - Setup your deployment preferences to let Admiral manage container placement.
- Live state updates - Provides a live view of your system.
- Efficient multi-container template management - Enables logical multi-container application deployments.
Run following command
docker run -d -p 8282:8282 --name admiral vmware/admiral

Click on Add a Host
Before you add host please ensure Remote API is enabled for the host.
Please refer my previous blog - http://bit.ly/2kRQqOc

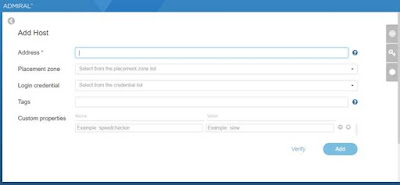
Fill in details and add the host
- Address – http://:2375
- Placement Zone – Choose default-placementzone
- Login Credentials – you will need to create new and choose that

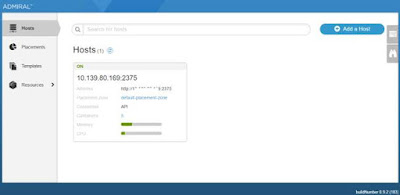
Now you can manage containers or create new if required.
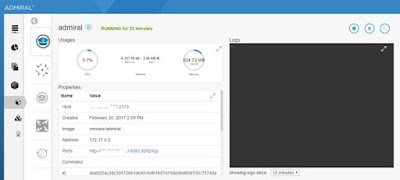
Following the Admiral Container which we created

For more information refer official Github link - Click Here
UI's for Docker:
As you can see, at the top we have the Docker Engine which would be running on a single host.
You then have your orchestration/scheduler interacting, with typically, several Docker Engines.
- Green; this is a command line tool / interface.
- Blue; Web Interface, this is what we are going to be covering in the post.
- Purple; Desktop App, I have included this as it is typically part of peoples journey into using Docker.

No comments:
Post a Comment